It is about time I said a little bit about what is going on in the workshop. Being a one-man-band is very satisfying, but it means that just a few concurrent jobs take up all of my time. I like writing and designing, but at the moment I'm definitely burning the candle at both ends!
Annapolis Wherry Tandem
In late 2012 I reported on the construction of a CLC
Annapolis Wherry Tandem in this post and showed some photos of the finished boat
in this one. After completion the
Annapolis Wherry Tandem sat for a number of months under shelter beside my workshop because the owner was overseas doing post-graduate studies.
Well, the day finally came for a test row and the boat went very well indeed. The only problem was a slight bow-down trim, but that was sorted out on the second outing, and turned out to have simply been caused by having the foot stretcher set too far forward. With that adjusted the trim is now perfect. The following photos were taken on the initial outing, so you may just detect the trim I mentioned. Despite that the boat went fine, and on the second outing a few weeks later she was perfect.
+-+Copy.JPG) |
| That is the owner, Dr McArthur, looking on as I make preparations for the initial launching. Dr McArthur is a very experienced oarsman, having rowed for 55 years of his long life. |
 |
| Just getting the feel of the boat about two minutes after the launching. You can see how we have the excellent Piantedosi Row Wing adjusted for a "left-over-right" rigging. |
 |
| A "turtle's eye view" as Dr McArthur becomes more familiar with the boat. |
 |
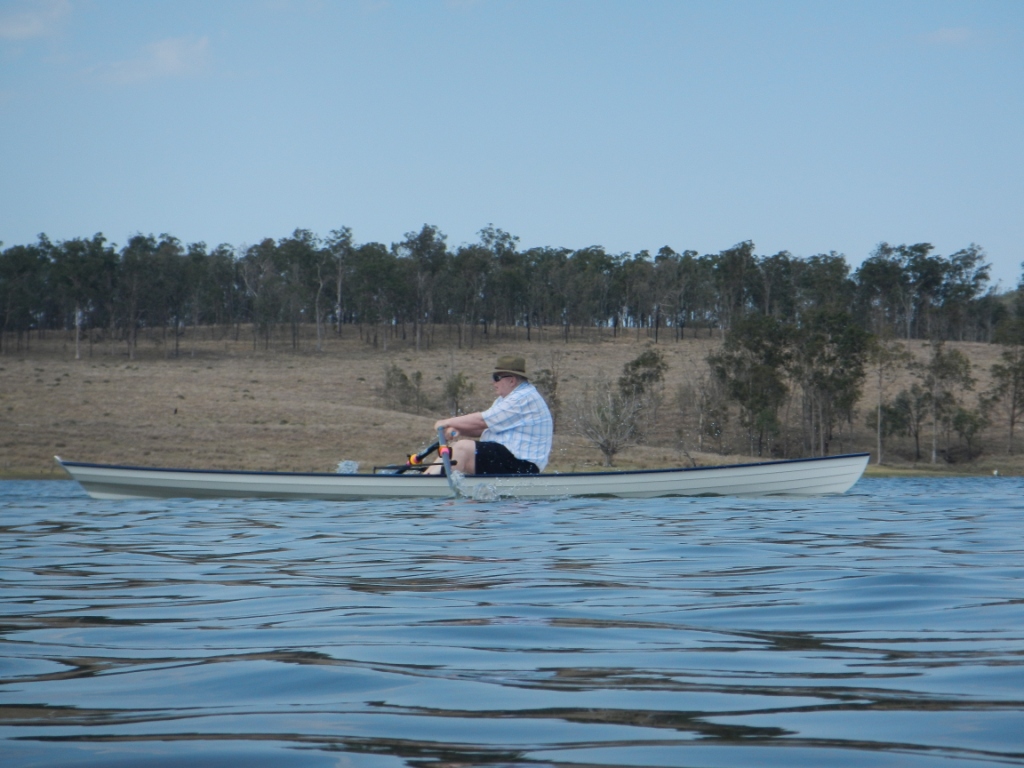
| Even though we had the foot stretcher too far forward, the boat is still trimmed reasonably, and she certainly ran nicely, with excellent directional stability. |
 |
| The boat proved to be stable and fast. Subsequent outings have been longer, and we've explored more of the performance envelope. She is a practical and enjoyable package. |
Jim Michalak Scram Pram
In
this post I mentioned that I had been given the job of finishing off the construction of a Jim Michalak
Scram Pram.
My part in the project is nearing completion, with just some detail work around the hull, initial coating work on the spars, and setting up the running rigging and sail to go. The owner will pick-up the boat and do the remainder of the painting and varnishing. However, I hope that he and I will be able to fit in a day or two of sea-trials prior to her departure (by road) for her home waters. Here are just a few pictures: -
 |
| View from the helmsman's position, port side, looking forward. You can see what an enormously roomy vessel she is for a light fifteen footer. It is easy to see that if the boat suffered a knock-down, the windows (not yet installed) and the raised deck on either side of the centre walkway would keep the boat dry and buoyant. |
 |
| Forward/port window dry-installed with Pencil Cedar surrounds. Window and internal framing held in with silicon bronze screws throughout. See the aft/port window loosely fitted and waiting for the surrounds to be fabricated. |
 |
| Close-up of internal framing showing how I have stamped markings at the top/right to identify the components after disassembly. The window installation was a much more difficult and time-consuming process that I had anticipated, as each window is slightly different from its fellows, and there were a number of lurking "tricks for young players". |
 |
| Windows from the outside. The protective film and paper will be left in place as long as possible. Fore and aft decks will be screwed down onto flexible bedding compount to allow future removal for maintenance. When I did it, it took 93 #8 x 1-1/4" silicon bronze screws! However, it is a very good idea. |
 |
| Filling/draining bungs for the three water ballast tanks were sourced from Duckworks. They come as a brass tube (see longest tube in the photo) and an expanding rubber or plastic plug. When the lever is pushed down the plug expands and grips the inside of the tube. My problem was that the bottom of the boat is only 9mm/3/8" thick and the tube would protrude. I worked out the shortest length that the tube could be and still allow the plug a full-depth grip, and cut the tube (see cut tube in foreground). I then fabricated some blocks so that the tube protruded only 9mm/3/8" below the block. When set in the tanks on the bottom of the hull, the brass tube and plug fit neatly without extending past the outer surface of the hull. Note how I cut holes in the blocks and the brass tube to allow water to drain right down to the bottom of the tank. |
 |
| Bung set into the bottom of the tank, positioned below the inspection port to allow opening and closing. The block was very thoroughly sealed with about four full coats of epoxy prior to installation, and the tube and block were set in polyurethane bedding compound during installation. This was done so that the expansion and contraction of the brass would be taken up by the bedding compound - an epoxy joint would surely show hair-line cracks before long. |
 |
| Mast partner is held to the forward bulkhead by four 5/16" bolts - two of them are silicon bronze and two (which you can see) extend through the aft face of the partner and act also as attachment and pivot for the mast gate, which I made from 8mm alloy plate. These two bolts are from 316 stainless steel, and if I can locate the required plate, I may replace the alloy with 316 stainless. |
 |
| 1-1/2" thick laminated mast step sitting upside-down on the bench prior to installation in the hull. Note the groove to act as a drain to prevent water accumulating in the step, and also the very thorough sealing of the internal surfaces with epoxy. This was done ahead of installation because access is difficult after. The rounded-over edge at the rear of the step (as it sits in the photo) is to allow it to sit neatly against the glass fillet between the forward bulkhead and the floor of the cabin (which is also the top of one of the water-ballast tanks). |
More about jobs, both in the workshop and coming up, and also some progress reports on stock designs such as Whimbrel and Fleet in a day or so. I need to go to bed!

+-+Copy.JPG)


No comments:
Post a Comment