On most wood/epoxy boats, the stem is made as a two-piece unit rather than cutting a stem rebate on a single piece of timber.
 |
| This is my Periwinkle design,which shows the typical arrangement of planks being glued to the bevelled face of an inner stem |
 |
| Then an outer stem.......... |
 |
....... is glued over the inner stem and the hood ends of the planks, forming a very strong unit, and protecting the vulnerable edge-grain of the plywood planking.
|
 |
| This close-up shows how the outer stem covers both the inner stem and the end-grain of the planking. |
 |
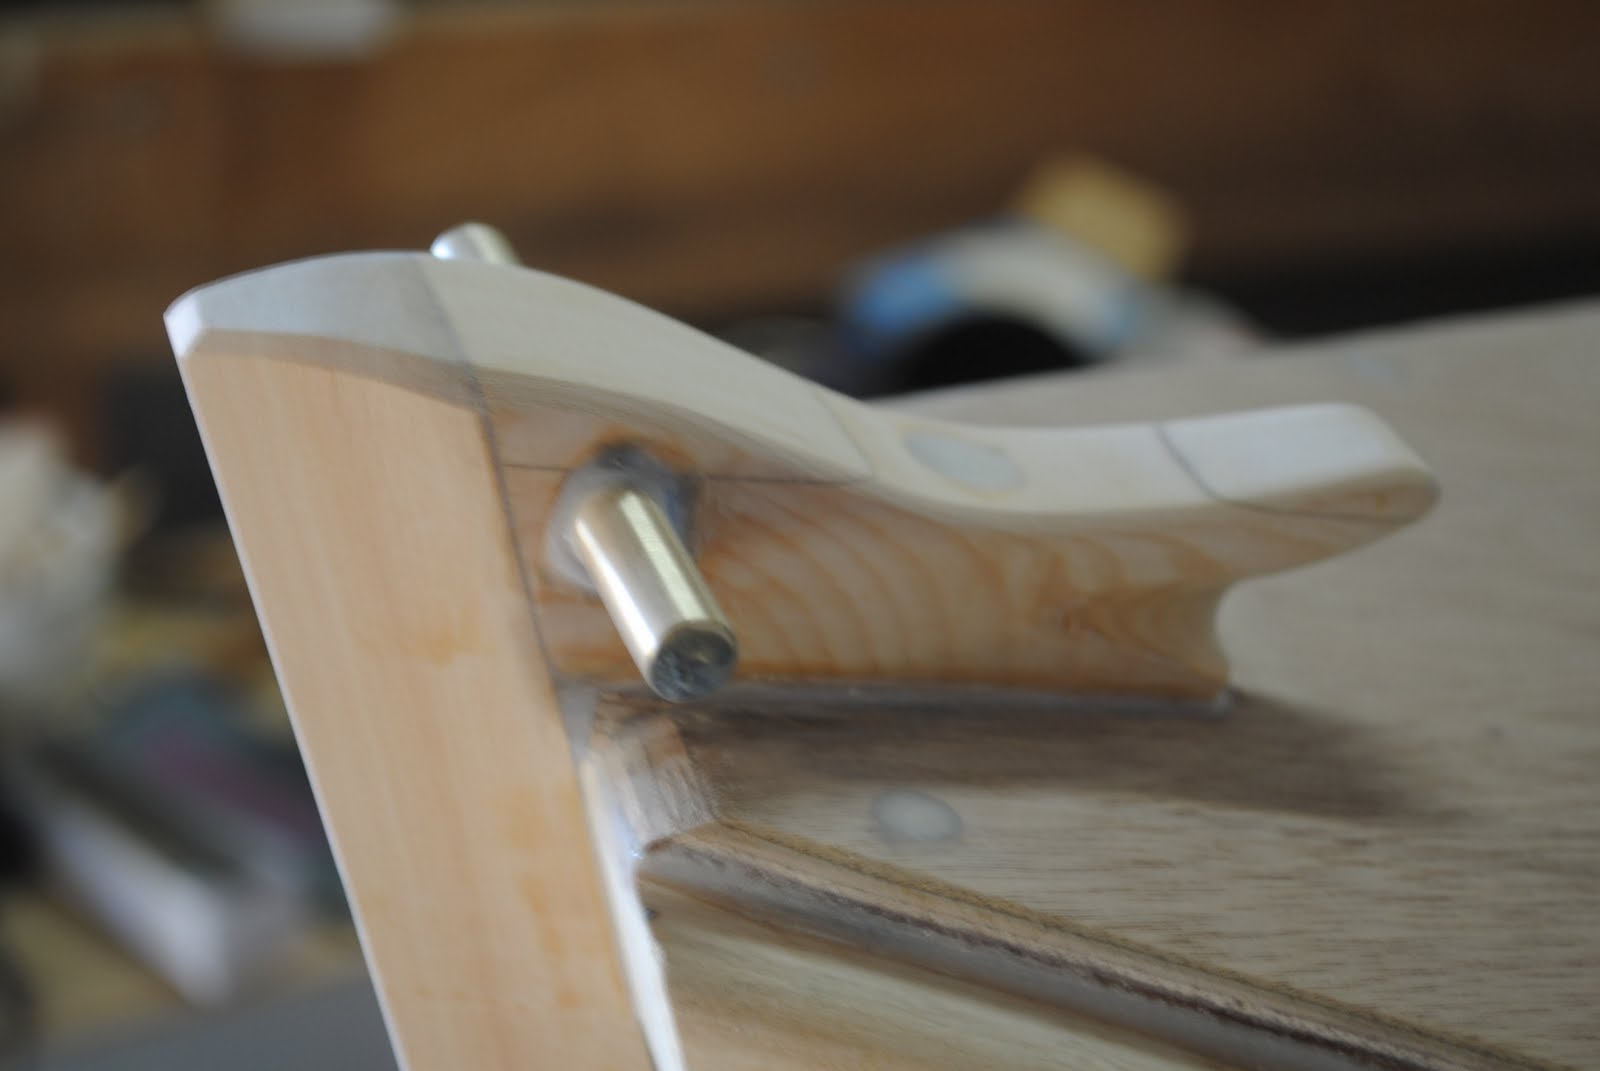
| In this case, I fabricated a neat cleat which was glued to the fordeck with a big bronze screw going through into the inner stem. I cut the shape free-hand, but it is somewhat similar to a "Jonesport Cleat" |
 |
| You can see how the load from the painter or the mooring line is taken by the body of the cleat before being made-off on the brass pin. |
 |
| By the way, here is a photo I forgot that I had when I did the post about the Mayfly 14, which shows the way the glass cloth and epoxy wrap around the rounded chine to protect the exposed edge-grain of the plywood bottom panel. |
 |
| The finished job with the boat right-side-up. The white colour is from the sanding filler mixed in with the third fill coat of epoxy. The fill coats are very important to "fill" the weave of the cloth so that when you sand the surface fair, you don't cut into the glass cloth - just the epoxy. |


No comments:
Post a Comment