Thursday, April 14, 2011

More about "Bird's Mouth" Spars

Last night I wrote a short piece about the process of assembling a "Bird's Mouth" mast. Since then, I've dug out some photos from my achives to show some of the steps in the production of the "Bird's Mouth" cut-outs.

The equipment required is basic, with the primary component being a table saw with a tilting arbor. This does not need to be expensive - mine is a second-hand Makita which cost me $120. I do use an old thicknesser and a cheap (and old) bandsaw - but these are luxury items, and the job can be done without them - it just takes a little longer.

This is the blade of my table saw tilted at 45 degrees, and set to cut to the required depth. On the right you can see the fence of the saw, and on the left is my home-made feather-board which will hold the sections of timber firmly against the fence while I make the cuts.


This shows one of the mast staves being pushed through the saw, with the home-made finger board holding the piece firmly against the fence. Accurate cutting is essential if you hope to get a mast with the correct diameter at each location.
Note the use of a 'push-stick' at the end of the run - be careful with power tools, as they can be very unforgiving and dangerous. If in doubt, get an experienced person to do the job for you.
First cut completed on one stave. After this, turn the stave end-for-end and run it through again.
This is how it should look after the second pass - now just do the same thing seven times more!
After all of the staves have had the 'Bird's Mouth' cut-out completed, I mark the pre-calculated taper on the side opposite to the bird's mouth and cut to the line with a bandsaw. This is a fairly tedious job, as there are eight very long cuts to be made, but it can be done with a plane and/or a jigsaw if you don't have access to a bandsaw.

A rough drawing to show the material to be cut away from the side opposite the 'Bird's Mouth'. This produces the taper in the finished, assembled spar. I usually give all the required dimensions in my more recently-completed plans.
Two masts (a main mast and a mizzen mast for a cat-ketch) given a trial (or "dry") assembly
Here they are, loosely assembled.
These are the solid inserts I put inside the bases of my masts. The 'V' cut-out is so there is no abrupt transition in stiffness between the solid and the hollow sections of the mast.
The section cut out of the solid plug. If you look carefully at the apex of the cut-out on the right of the picture you will see that I have finished the cut-out with a round hole. This is to prevent splitting of the solid plug.
Testing the fit prior to gluing.
A nice fit!
A glued-up mast.
Have a look at the previous post to see some pictures of the assembly process.

Wednesday, April 13, 2011

Assembling a "Bird's Mouth" Hollow Mast

Most of the masts that I make are built hollow using the so called "Bird's Mouth" technique. This is just a development of a vast range of similar methods used over many hundreds of years, but it is particularly suited to this day and age - mainly because of tilting-arbor table saws and power routers being readily available.

In this series of photos, I'll just show some basic steps in the assembly process. The marking and cutting of the staves which make up the spar need an article of their own.

Because of the large surface area which needs to be covered with epoxy, time is critical, and you need to be organised!

First four staves laid up dry to test fit. I am using 'U'-shaped plywood forms to hold the staves loosely together and in alignment. The forms are clamped to a long piece of timber acting as a strongback.
There are only about four forms for this entire mast, which is 23 feet long. They are simply there to prevent the eight staves getting out of control during the assembly. Once together, the structure is self-supporting, but it does need to be straightend very carefully before the glue goes off. 
I always make solid inserts for the bottom of the mast. It usually extends up to above the level of the mast partners. The internal 'V' cut-out is there so that there is no abrupt transition in stiffness between the solid and hollow sections.
I carefully shape the solid inserts so that they fit the internal shape of the mast without holding the staves apart. A slightly loose fit is good, as it allows a rich glue-line between the insert and the inner walls of the mast.
Another view of the insert
All eight staves are lined up in order, and at a convenient working height. Here I have a helper, as we need to be able to get epoxy out fast. We are applying the sealing coats to what will eventually be the inside of the mast, as it will not be accessible after assembly.
I use foam rollers to apply the epoxy, but you need to be careful to avoid pressing too hard and causing the wet epoxy to foam like whipped cream. After each coat is applied, I run over it lightly with a paint brush to smooth the surface and break any bubbles.
These are the staves at the masthead end. As you can see, these are almost at the minimum size limit for this method - I had done careful calculations ahead of time to make sure it would be feasible. You can see here that the epoxy coatings are building up.


This shows me working on another mast. We had already applied the glue to the gluing surfaces using various techniques, and at this point I was rapidly adding extra where required, and was smoothing the glue on all mating surfaces

The assembly just after putting together and placing a few cable ties around it to keep everything in place. Note the squeeze-out beginning to occur. It is important to have the glue fairly runny, as excess viscosity makes it very hard to clamp the total assembly tightly enough so that the mast assumes the correct diameter.
Start with a few, evenly-spaced cable ties, and then put on more in-between.
I use high-quality cable-ties and tighten them with the aid of pliers.
As you can see, I'm serious about getting a good and even clamping! Although you can't see it well in the photo, I use multiple windings of packaging tape to apply extra pressure where needed. There are many different methods of clamping, but this system works for me.
Once the clamping has been completed, I then spend time making sure that the mast is straight. While the glue is still wet, you can fairly easily push, pull, and hammer the thing until it is straight. Put some effort into this, as when the glue goes off, the shape is fixed forever! You will find that the human eye is a very effective tool for determining straightness.

Slices sawn off the top and bottom ends of the mast shown in the construction  photos. You will note that when I cut the bird's mouth cutouts, I run the saw blade just a little deeper than required, so that I get a little resevoir for epoxy, and that the staves fit in without hang-ups.
Here is a finished mast on another boat I built a couple of years ago.
Be open-minded about this process - it may look intimidating, but in fact it is quite easy - as long as you are organised!

Thursday, April 7, 2011

Rig #6 from "100 Small Boat Rigs" ("103 Sailing Rigs")

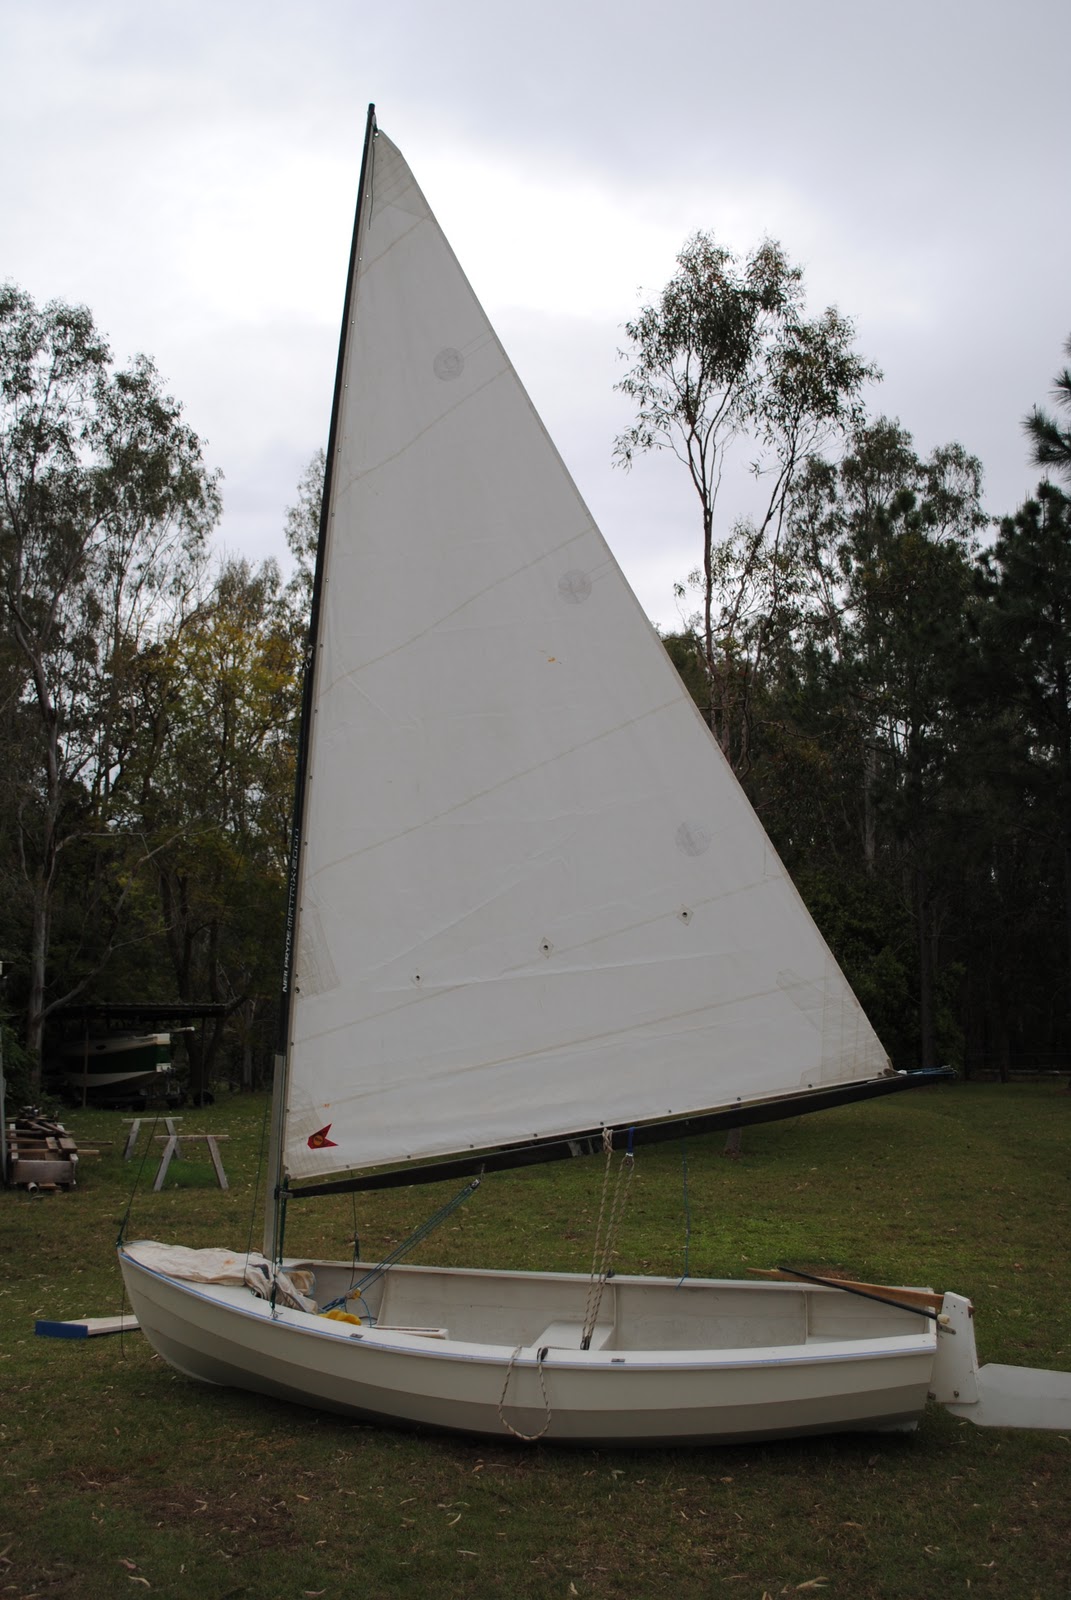
One of my boys built himself a lapstrake (clinker) dinghy. At the time, we were working very long hours in the Brisbane workshop and I couldn't give him much of my time to help. But, he was surrounded by timber, glue, and tools, and with space in one corner and a ready-built strong-back he was on his way.

The boat turned out very well indeed, especially as the builder was only fourteen years old.

The owner-builder (Dave, in white) with Cousin Kevin lending a helping hand.
Hull nearing completion
After the building process, Dave was keen to get on the water, and he decided to purchase a carbon windsurfer mast to speed the launching, and a friend gave him an old Laser sail, which happened to be the same size as the designed sail.

Builder, carbon windsurfer mast, and Laser sail
The boat sailed reasonably well with the windsurfer mast, but it was too flexible down low and when sheeted on, the whole rig bent aft inducing weatherhelm and other handling problems - still it was fun.

Sailing nicely in light conditions...

...but in the gusts and sheeted hard, the rig bends aft, and you can see that the boat is becoming difficult to control
Eventually, Dave stashed away enough money to get the proper sail made. It had a fair amount of roach and leech battens which were too short. The leech would not stand as the flexible mast bent back, and it flapped uselessly. I don't have a photo to hand, but below is one of a boat we built earlier to the same design. This one had a nice, hollow timber mast which I made using the "Bird's Mouth" method. Although a lot stiffer than the windsurfer mast, the leech problem is still evident.

Stiff mast on an earlier boat, but still having problems with the floppy leech
We decided to do something drastic, so we cut the roach off Dave's new sail, removed the battens, and sewed on a new leech tabling (hem, I guess you would call it). This improved the set of the sail, as I had put a slight hollow in the leech and it worked well without battens. But the mast was still too whippy.

The final stage was to install a forestay and two shrouds (side stays). In order to retain the sail-shaping advantages of the bendy mast, we attached the stays at a point only a fraction above the half-height point on the mast (as per Rig 6 in Phil Bolger's book, "100 Small Boat Rigs", which is now published as "103 Sailing Rigs").

The improvement has been astounding. The handling issues have been resolved, and with the mast held at the half-height position, all sorts of sail shaping options are available by using the main sheet, the vang, the halyard, and the outhaul. We made the stays from 4mm Dyneema without an outer sheath as an experiment, and it has worked very well indeed. I couldn't work out the correct method for splicing the braided Dyneema core, so we ended up just doing plain bowline knots around the stainless thimbles - not very neat, but they work fine. I don't have sailing photos, but here is the boat on dry land as we set up the stays.

Stays attached halfway up the mast
Simple lashings
Mast far better controlled, and showing a little 11sq.ft. Heron jib set as well. The original boat carried quite a lot of weather helm and the jib helps to balance that out.
Sail plan in cat-rig form. The alloy sleeve around the lower part of the mast was an earlier attempt to stiffen things up.
All of this shows how much fun you can have messing around with rigs and layouts. A great source of satisfaction.

Sunday, April 3, 2011

Sailing the "Eve 16"

Today I received the following comment from Dennis about my previous entry: -

I like what you are doing with the blog, Ross. Great Stuff! On another note, did you get to sail EVE? What did you think of the design? -- Dennis

Well, I didn't sail the boat personally, but both of the hulls I built were finished off by their respective owners, and both have been sailed. One of them went on to be used in the Jody Foster film, "Nim's Island". As far as I know, the other one is still in the hands of the original owner.

The Eve 16 was a development that Mike Roberts carried out on his well-known Green Island 15 design. What he did was to run the Green Island 15 through his Maxsurf program and get the program to round-off the sharp edges of the straight-sided and flat bottomed Green Island 15. Mike wanted the boat to be built as a strip planked hull, and I believe that at least one was done that way by an owner-builder.

This is the first Eve 16 hull I built, showing the original sheer line, and in the process of being fitted out by the owner

Here she is heading out of the driveway on launching day

However, both of the customers I had for the Eve 16 were keen to try out my idea of having a strip planked bottom up to around the fairly hard turn of the bilge, and then change to glued lapstrake for the rest of the planking. Mike wasn't keen, but good-naturedly agreed to me doing it that way.

The results were excellent. The first boat was built as per the plan, using my planking method, but the second had a little extra hollow cut into the sheer at the request of the owner. If you look at the pictures, you can see that the sheer strake is a bit skinny in the middle, but the revised sheer line is more pleasant to the eye - the original looking a bit flat.

This is an upside-down photo I took to check the new sheer line that we were marking on the second hull to be built. You can see that there is not too much hull to be cut away, but the visual difference was amazing.

The new sheer line being displayed just before I towed the hull to the owner for the finish work. This is the boat in the sailing photos, and the one which ended up in "Nim's Island"

The boat that I saw sailing went very well indeed, and seemed to sail just as well as the Green Island 15 which is not surprising given the origin of the hull, and the fact that the rigs and layout were identical.

The second boat under sail in Manly Yacht Harbour
And another view of the same boat
Now, I'm worried that everybody will go off and buy plans from Mike, so here are some pictures of some of my boats - after all, it is my website and you all get the pictures for free!

A Phoenix III sailing powerfully on the west coast of U.S.A. It looks like she has a triangular mainsail, but it is just the angle of the sprit mainsail
Me sailing Periwinkle on launching day

Saturday, April 2, 2011

Spiling Lapstrake Planks - Interesting Shapes

You often hear designers describing the "lay" of planks. What does this mean? Well, depending on the form of a boat's hull, and the way in which the planking has been lined-off (another subject in itself), the shape of the individual planks when they are being marked out on the bench can be quite remarkable.

Here is an extreme example - the photo sequence shows the development of the sheer strake (top plank) of one of the Bolger Hope designs which we built. The boat is quite wide for her length, and she has extreme flare in the forward sections. Phil Bolger told me that the lapstrake planking might be a bit difficult up there, and he was correct (as always).
   
Here you can see the temporary battens I used when carrying out the lining-off process. After establishing what I thought was a fair run of planking, tick marks were transferred to the molds and the battens were removed.

Here you can see my son, Dave, marking the shape of the sheer strake onto the plywood planking material. He is tracing around the spiling batten which we had fabricated to lift the plank shape from the boat

This photo shows just how severe the shape of the plank appears when laid out on the flat. But after being bent around the complex shape of the hull, everything looks normal. In the photo, the end closest to the camera is the bow end of the plank.

With the planking complete, you can see that the strange and twisted shape of the plank pattern resulted in a nice, fair plank line on the finished hull.

This picture shows another extreme. These are the topside plank patterns for an Eve 16 - a boat which has very little twist and concavity in here sections. You can see that the plank patterns are all very similar, with subtle shaping. 

This is the planked hull of the Eve 16 - the bottom was laid up with glued-strip planking